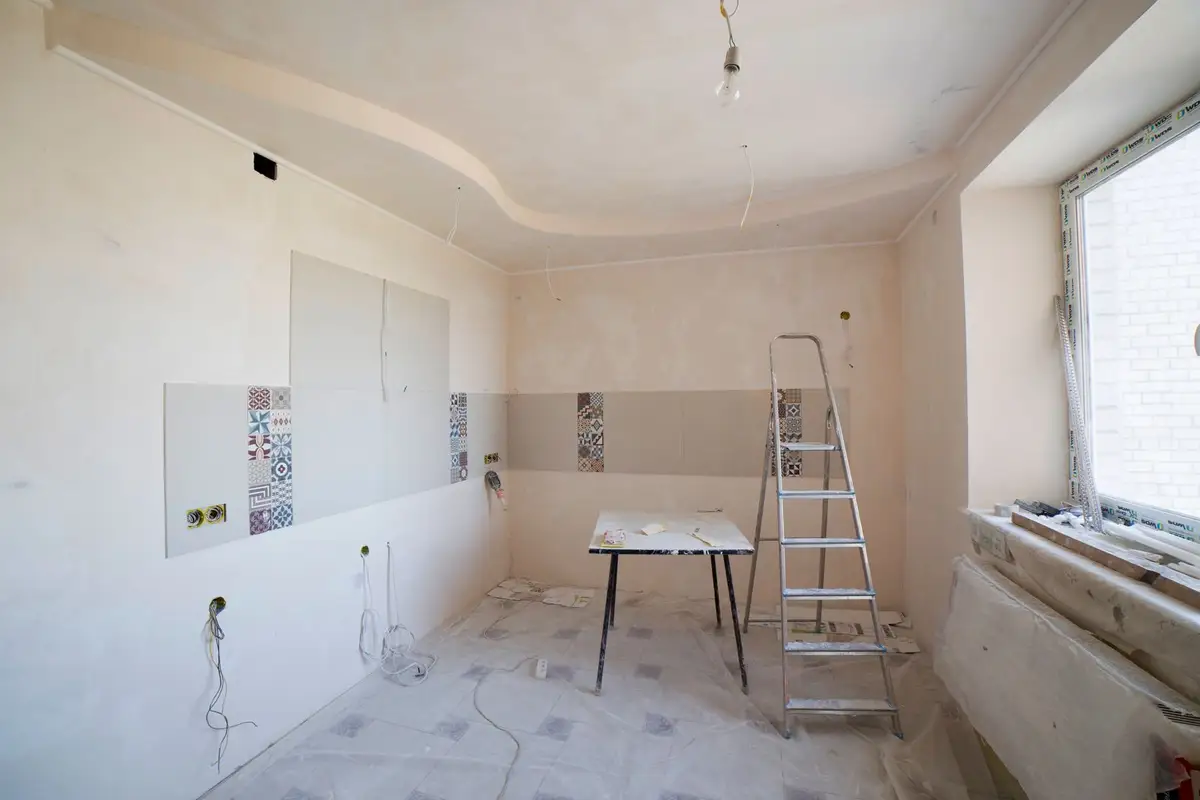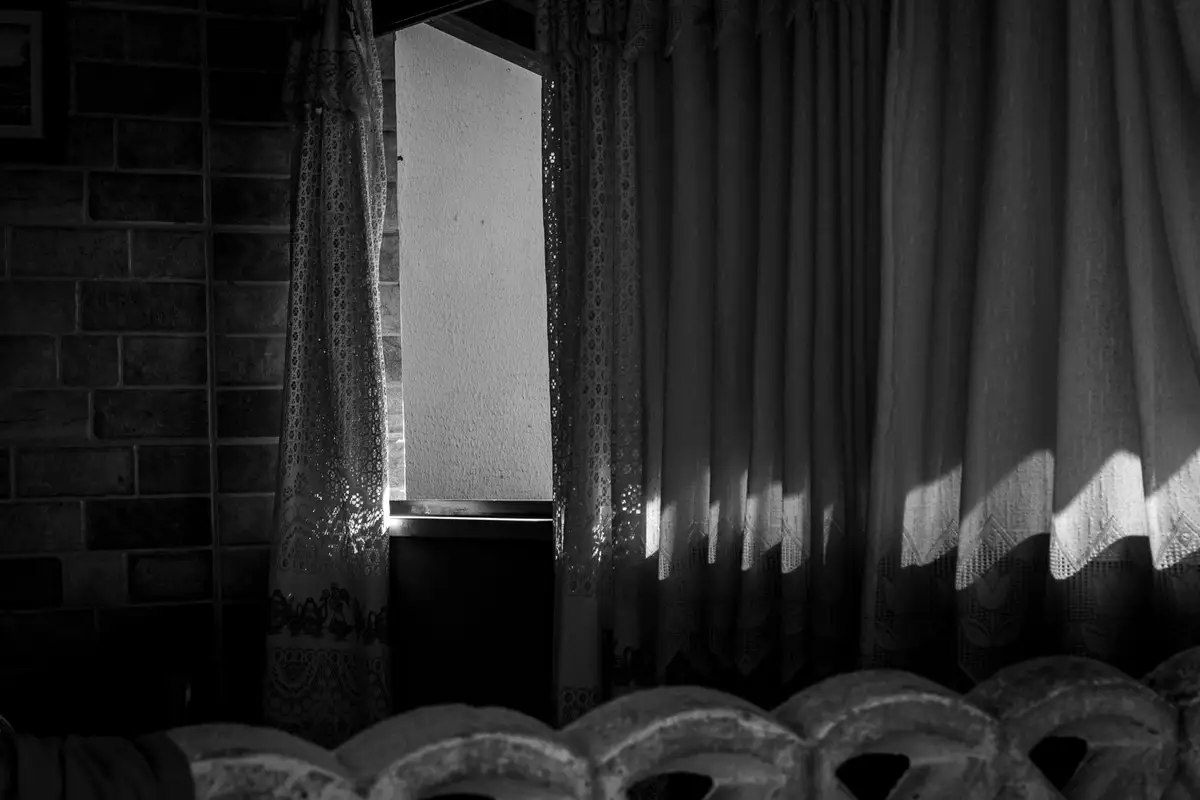
Designing for Ahmedabad’s heat
West-facing walls, harsh afternoon sun and fine dust: interior choices that keep an Ahmedabad home cooler.
Now taking projects for January 2027 · First site visit in Ahmedabad and Gandhinagar is free
3rd Floor, Shivalik Plaza, Near IIM Road, Navrangpura, Ahmedabad 380009
Mon–Sat · 10 am – 7 pm · Sun by appointment
From a cutting list to a finished shutter: the steps and days behind a floor-to-ceiling wardrobe.
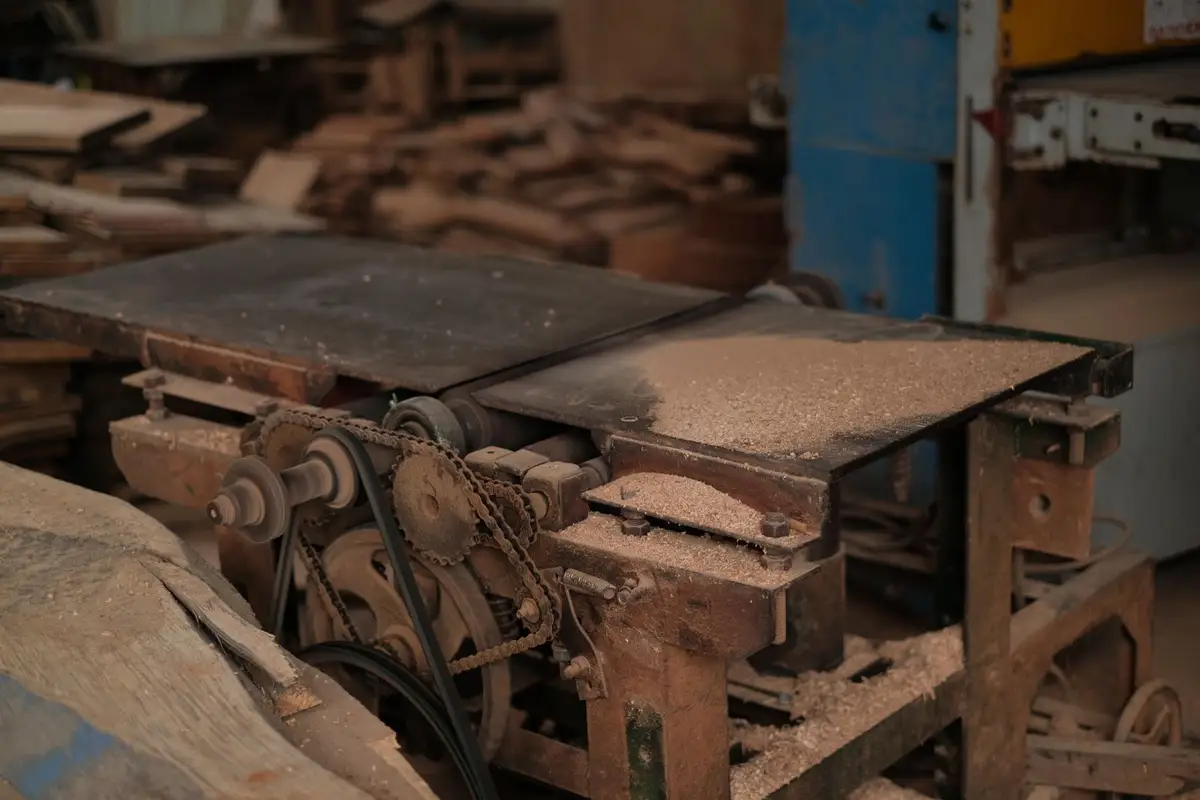
Once a client signs off the drawings, every piece of carpentry is made in our workshop in Odhav, not on site. It means cleaner work, less dust in your home and more accurate joints. Here is how one 8-foot floor-to-ceiling wardrobe moves through the workshop. It starts with a cutting list. Our designer converts the drawing into a list of every panel, with its size to the millimetre, the material and which edges need banding. Jignesh, who runs the workshop, checks it against the site measurements and the hardware to be used.
On the first day, sheets of BWP plywood are cut on a panel saw. Pre-laminated sides are banded with matching edge tape on an edge-bander, which seals the plywood edge against moisture. Holes for hinges, drawer channels and shelf pins are drilled using templates so every one is in the same place.
On the second and third days, the carcass is assembled, checked for square with a tape measured corner to corner, and the shutters are pressed with their outer laminate. Drawers are built and fitted with soft-close channels and tested 20 times each. Every panel is labelled with the room and position, and the whole wardrobe is dry-fitted in the workshop to check that it closes and lines up.
Then it is taken apart, wrapped in foam and corrugated sheet, and sent to site. Installation in your home usually takes one day, with shutters adjusted the following week once the hinges settle.
Keep reading
West-facing walls, harsh afternoon sun and fine dust: interior choices that keep an Ahmedabad home cooler.
MR, BWR and BWP plywood, what each stands for, and where each belongs in a Gujarat home.
Many families want to move in by Diwali or Uttarayan. Here is when to start so the dates actually work.